


Set up your Satisfactory dedicated server
Want to host your own Satisfactory dedicated server and play with friends without random disconnects? With MineStrator, you can get a stable server online in just a few minutes. In this guide, you’ll learn how to create your server, add it in-game, and launch your first save.
Follow the steps below carefully and you’ll be building factories together in no time. Keep your server IP and port close, you’ll need them several times during the process.
Step 1: Create your Satisfactory server
Start by creating a Satisfactory server on MineStrator with at least the recommended resources: 1 CPU core and 6 GB RAM. Once the installation is complete, start the server from your panel, then copy the IP address and port. You will use these values to connect from the game.
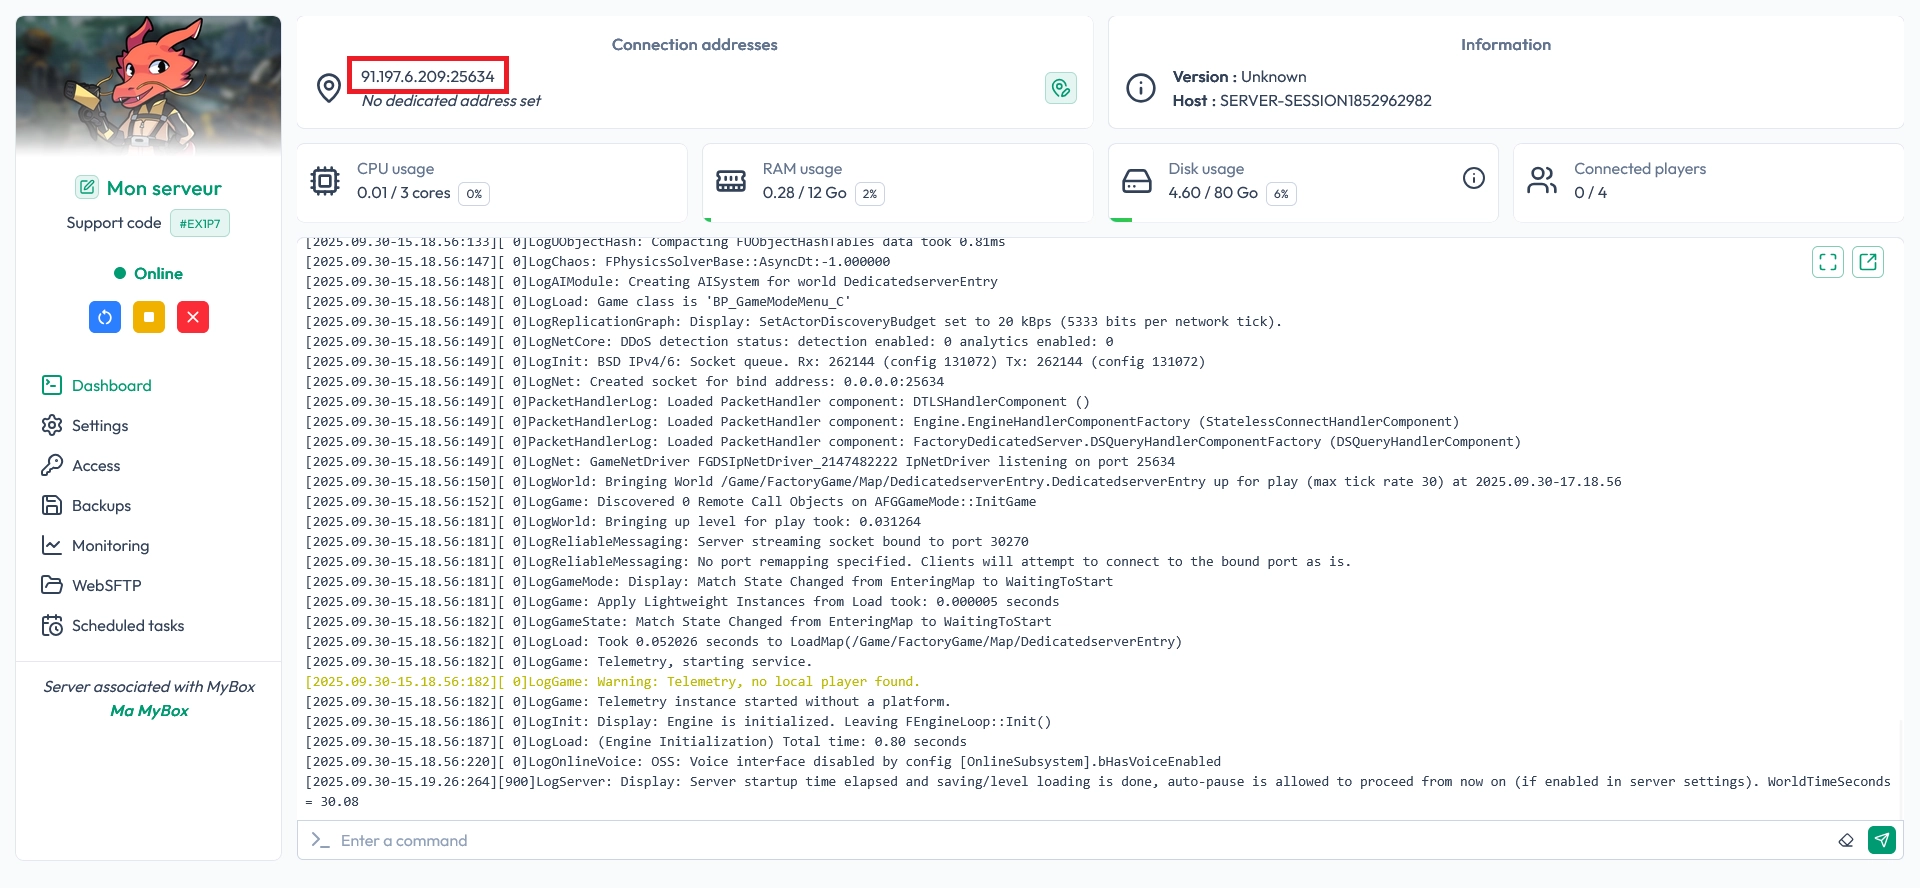
💡 Tip: Keep the IP and port in a text file or note app so you can quickly paste them in-game.
Step 2: Add the server in the in-game Server Manager
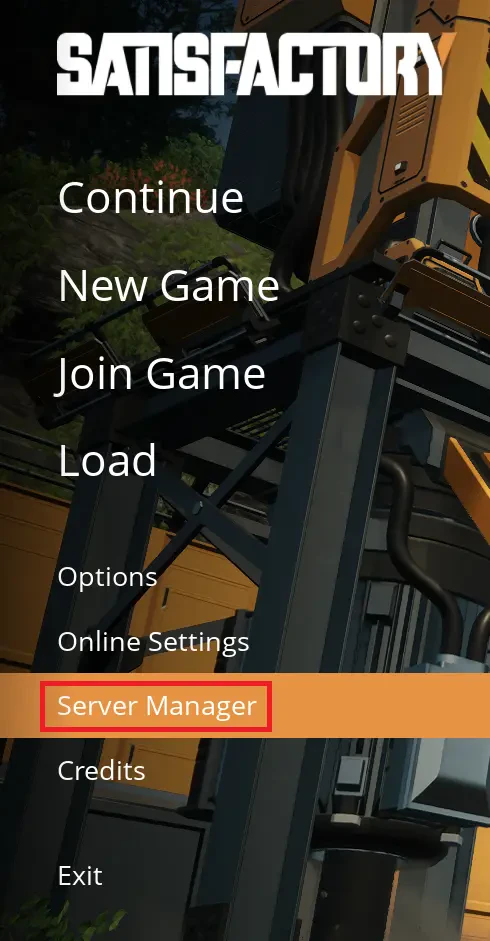
Launch Satisfactory and, from the main menu, open the Server Manager. This is where you manage all your dedicated servers and add new ones.
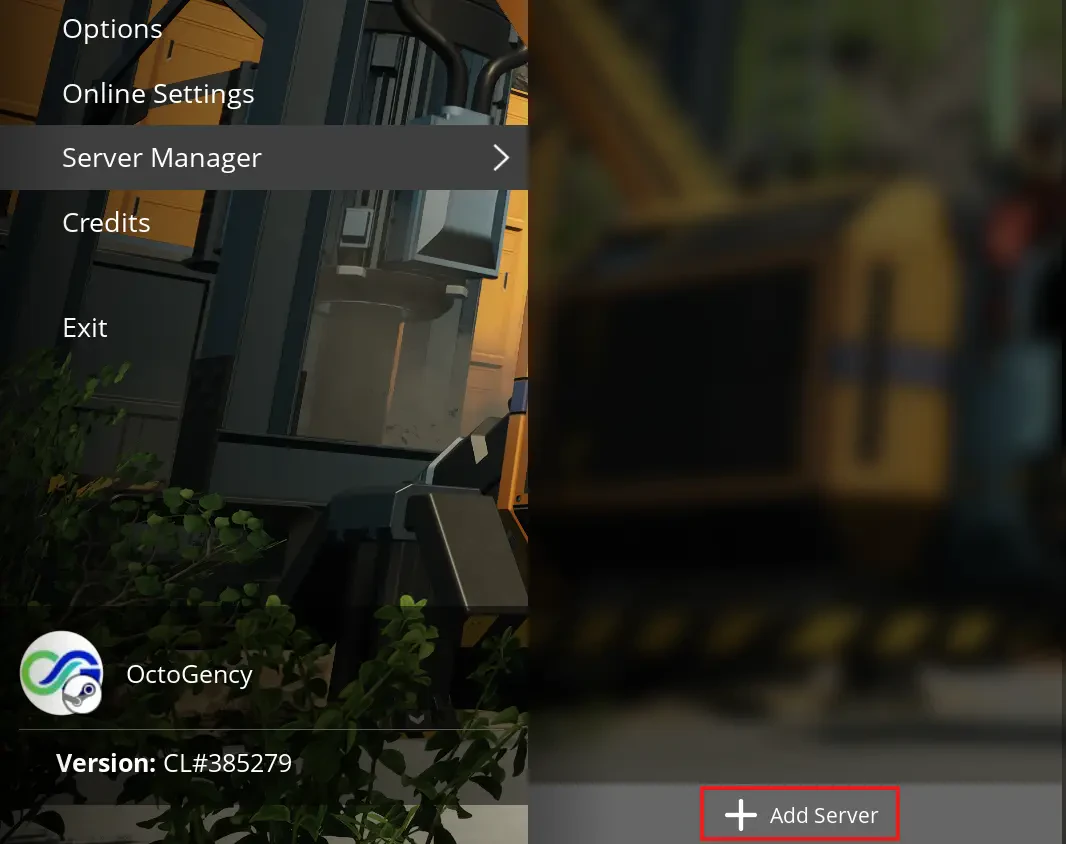
In the Server Manager, click on Add server to create a new server entry.
Enter the IP address and port of your Satisfactory server that you copied from the MineStrator panel. Confirm to connect.

If the game displays a server certificate warning, this is normal. The server generates its own certificate that Satisfactory cannot verify automatically. Only accept the connection if you are sure this is your server and you trust the source.
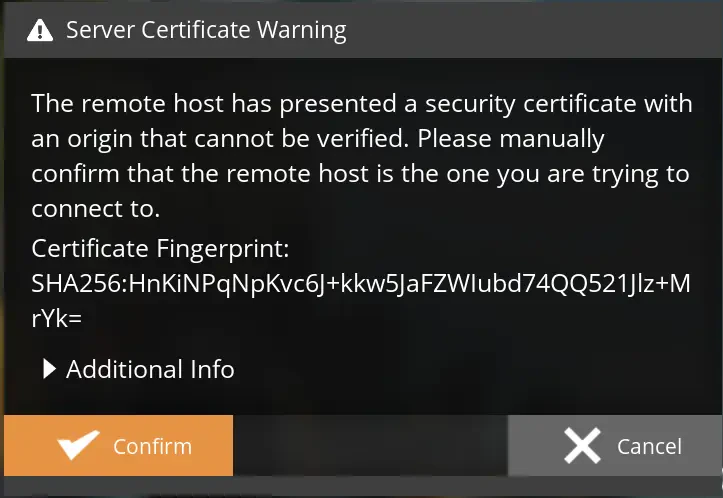
🚨 Important: Never accept a certificate from a server you do not recognize. Always double-check the IP and host.
Because you are the first player to connect, the game will ask you to claim the server. Choose a server name; this is what players will see in their server list when they try to join.

Next, set an Admin password for your Satisfactory server. This is not the password to join the game, but the password that allows you to configure and manage the server settings.

📝 Note: Store your admin password somewhere safe. You will need it to change settings or manage the server later.
Step 3: Create your first save on the server
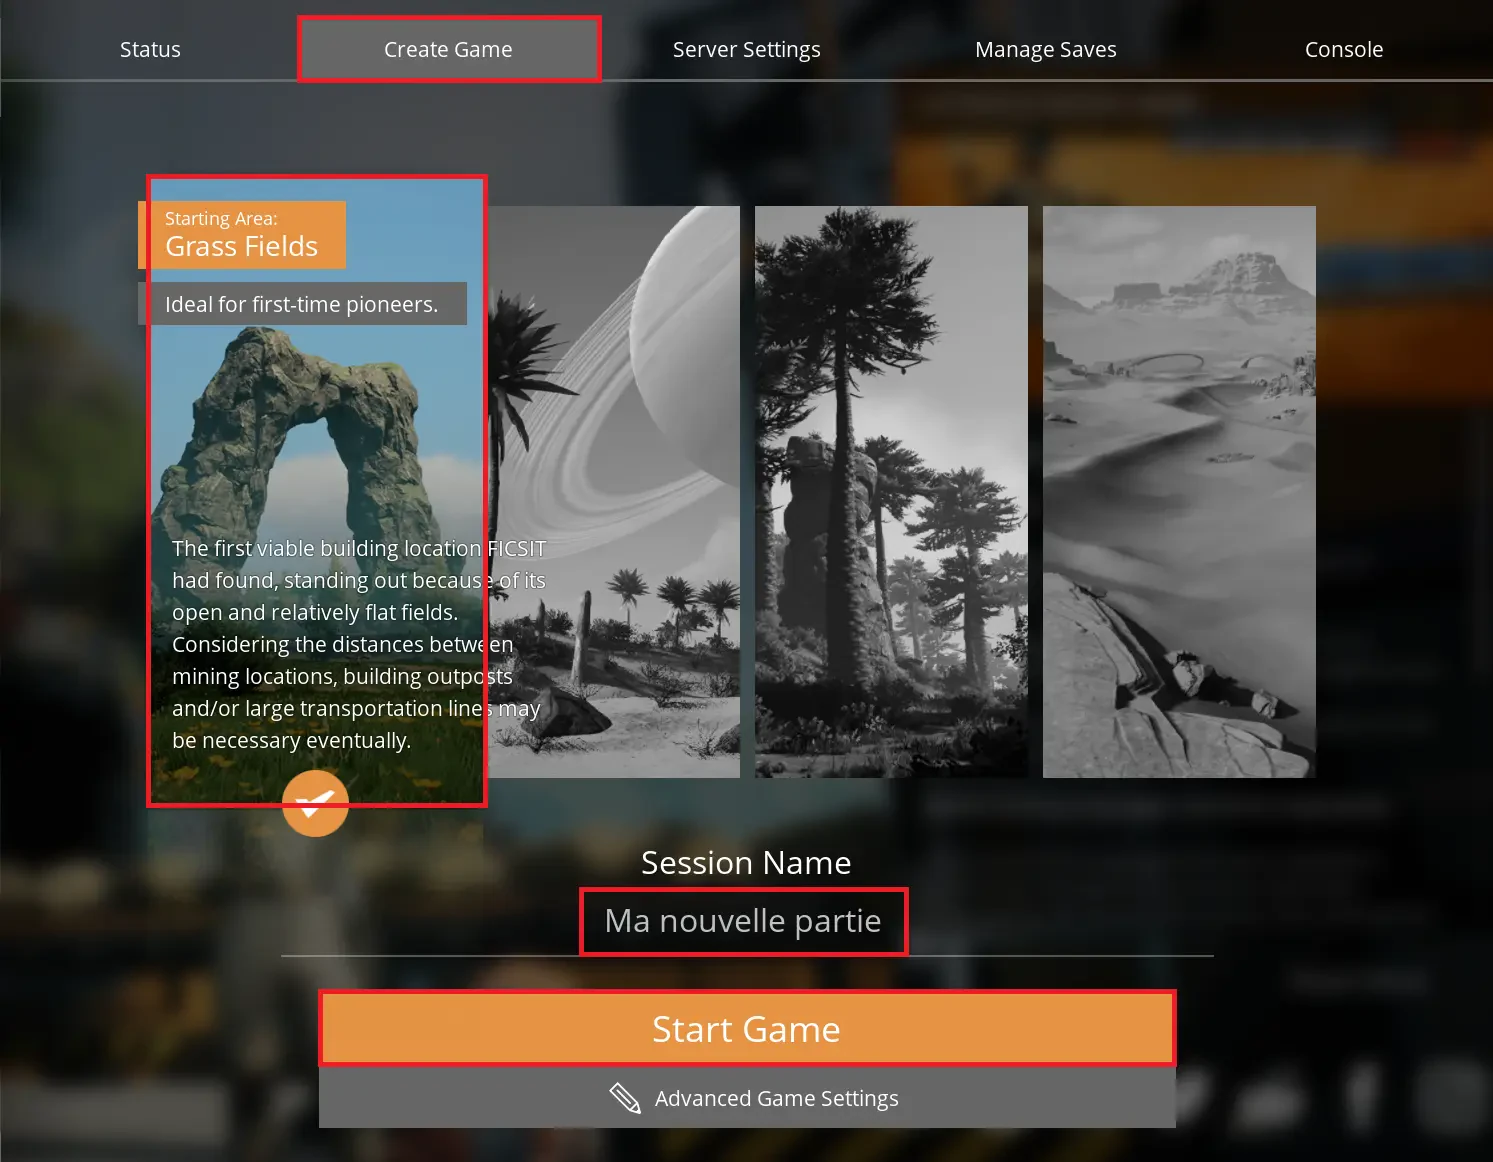
Once the server is claimed and configured, go to the Create Game tab in the Satisfactory interface. Choose your Starting Area on the map, then enter a Session Name. This will be the name of your save on the dedicated server. When everything is set, click on Start Game and confirm.
The server will generate the world and your new save. You can now join your Satisfactory server, invite your friends, and start building your mega factory together.
Conclusion
You now have a fully working Satisfactory dedicated server on MineStrator, added in-game and ready with your first save. From here, you can tweak settings, invite players, and enjoy a smooth co-op experience without worrying about hosting on your own PC.
If you need help or want more tips for optimizing your server, feel free to join the MineStrator Discord community. And if you don’t have a server yet, check out our Satisfactory-ready hosting offers and launch your game in a few minutes.

 Enjoy 10% off your first month of server with MineStrator using the code ACTU10!